Homemade Cinnamon Rolls
 Written by Wade
5.0 out of 5 with 6 reviews
 Prep Time: 30 Mins
 Cook Time: 15 Mins
 Total Time: 105 Mins
 Serves 20
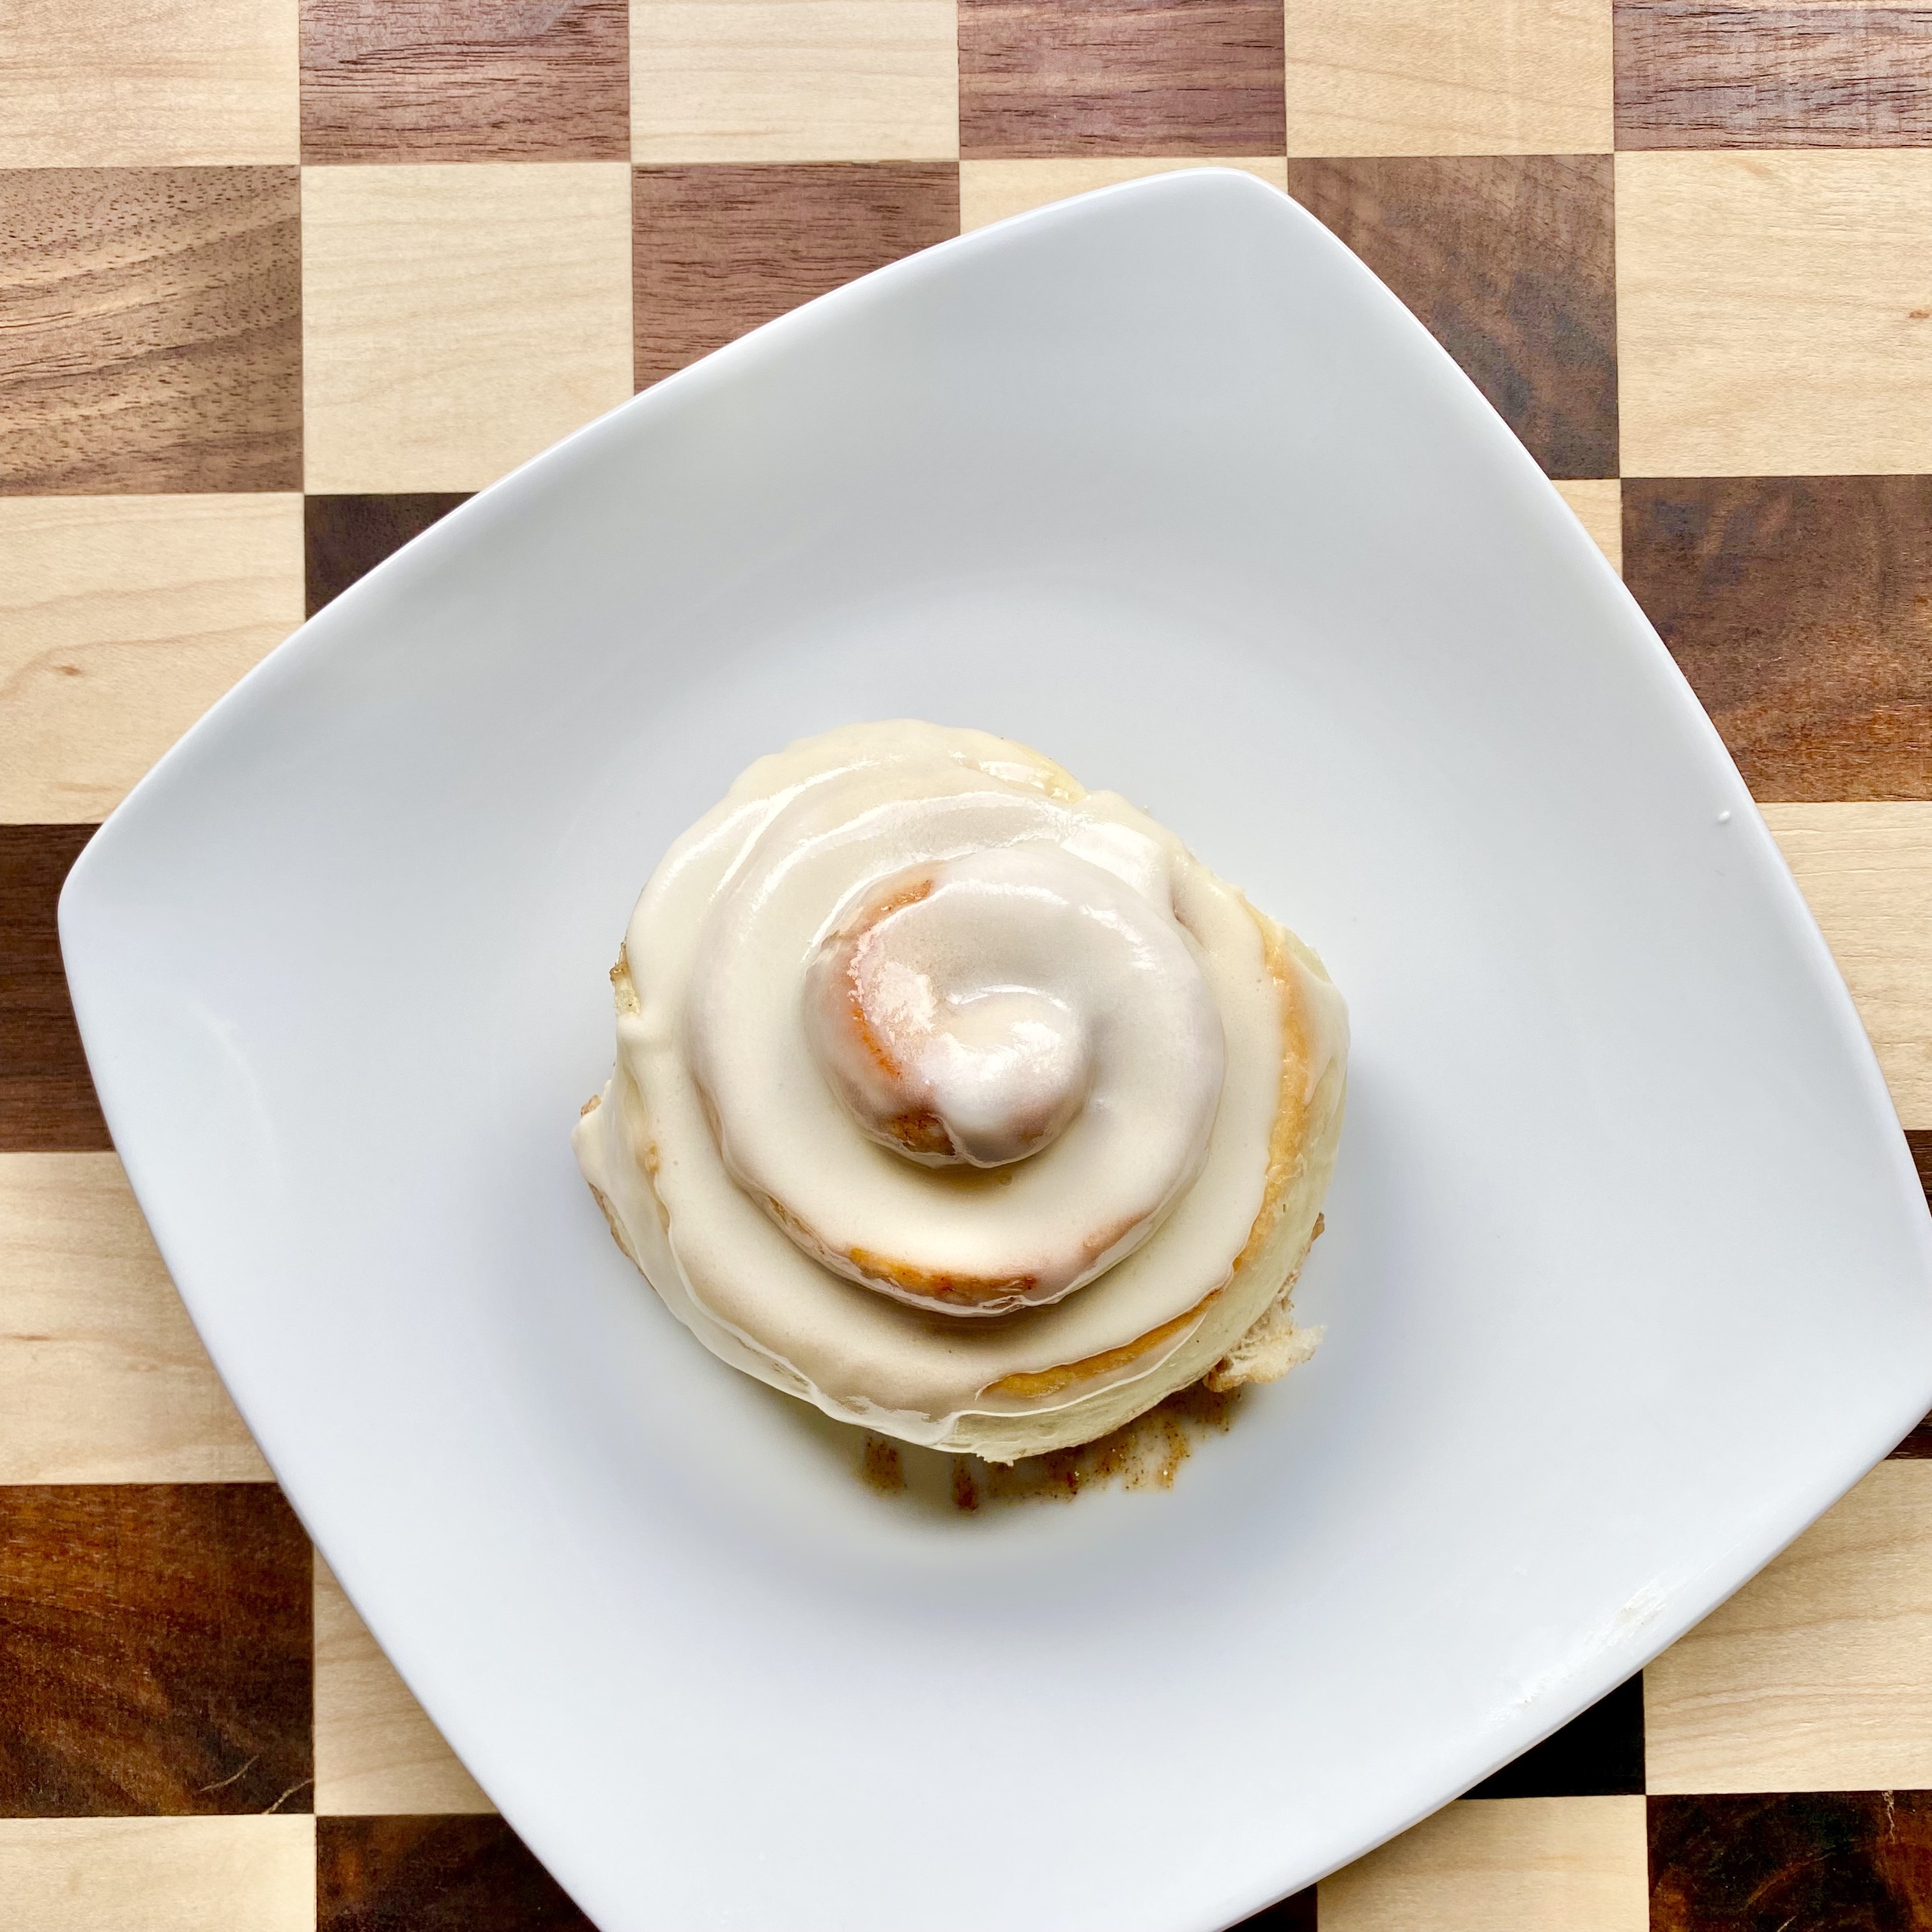
These cinnamon rolls are my favorite baked dessert. The light bread combined with the gooey filling and then a nice thick frosting really satisfy my sweet tooth while simultaneously representing the quintessence of a blessed childhood memory in a way that few other if any desserts can truly hope to match. A bonus feature of these is that they are easy enough you can have your kids make them for you.
Cinnamon rolls are a dessert that any level of baking skill can make. They have quite a few steps and there are plenty of tips and tricks to elevate it to the next level, but I've found this recipe to be so amazing that even if you get mixed up or mess up, you are still likely to end up with an amazing dessert.
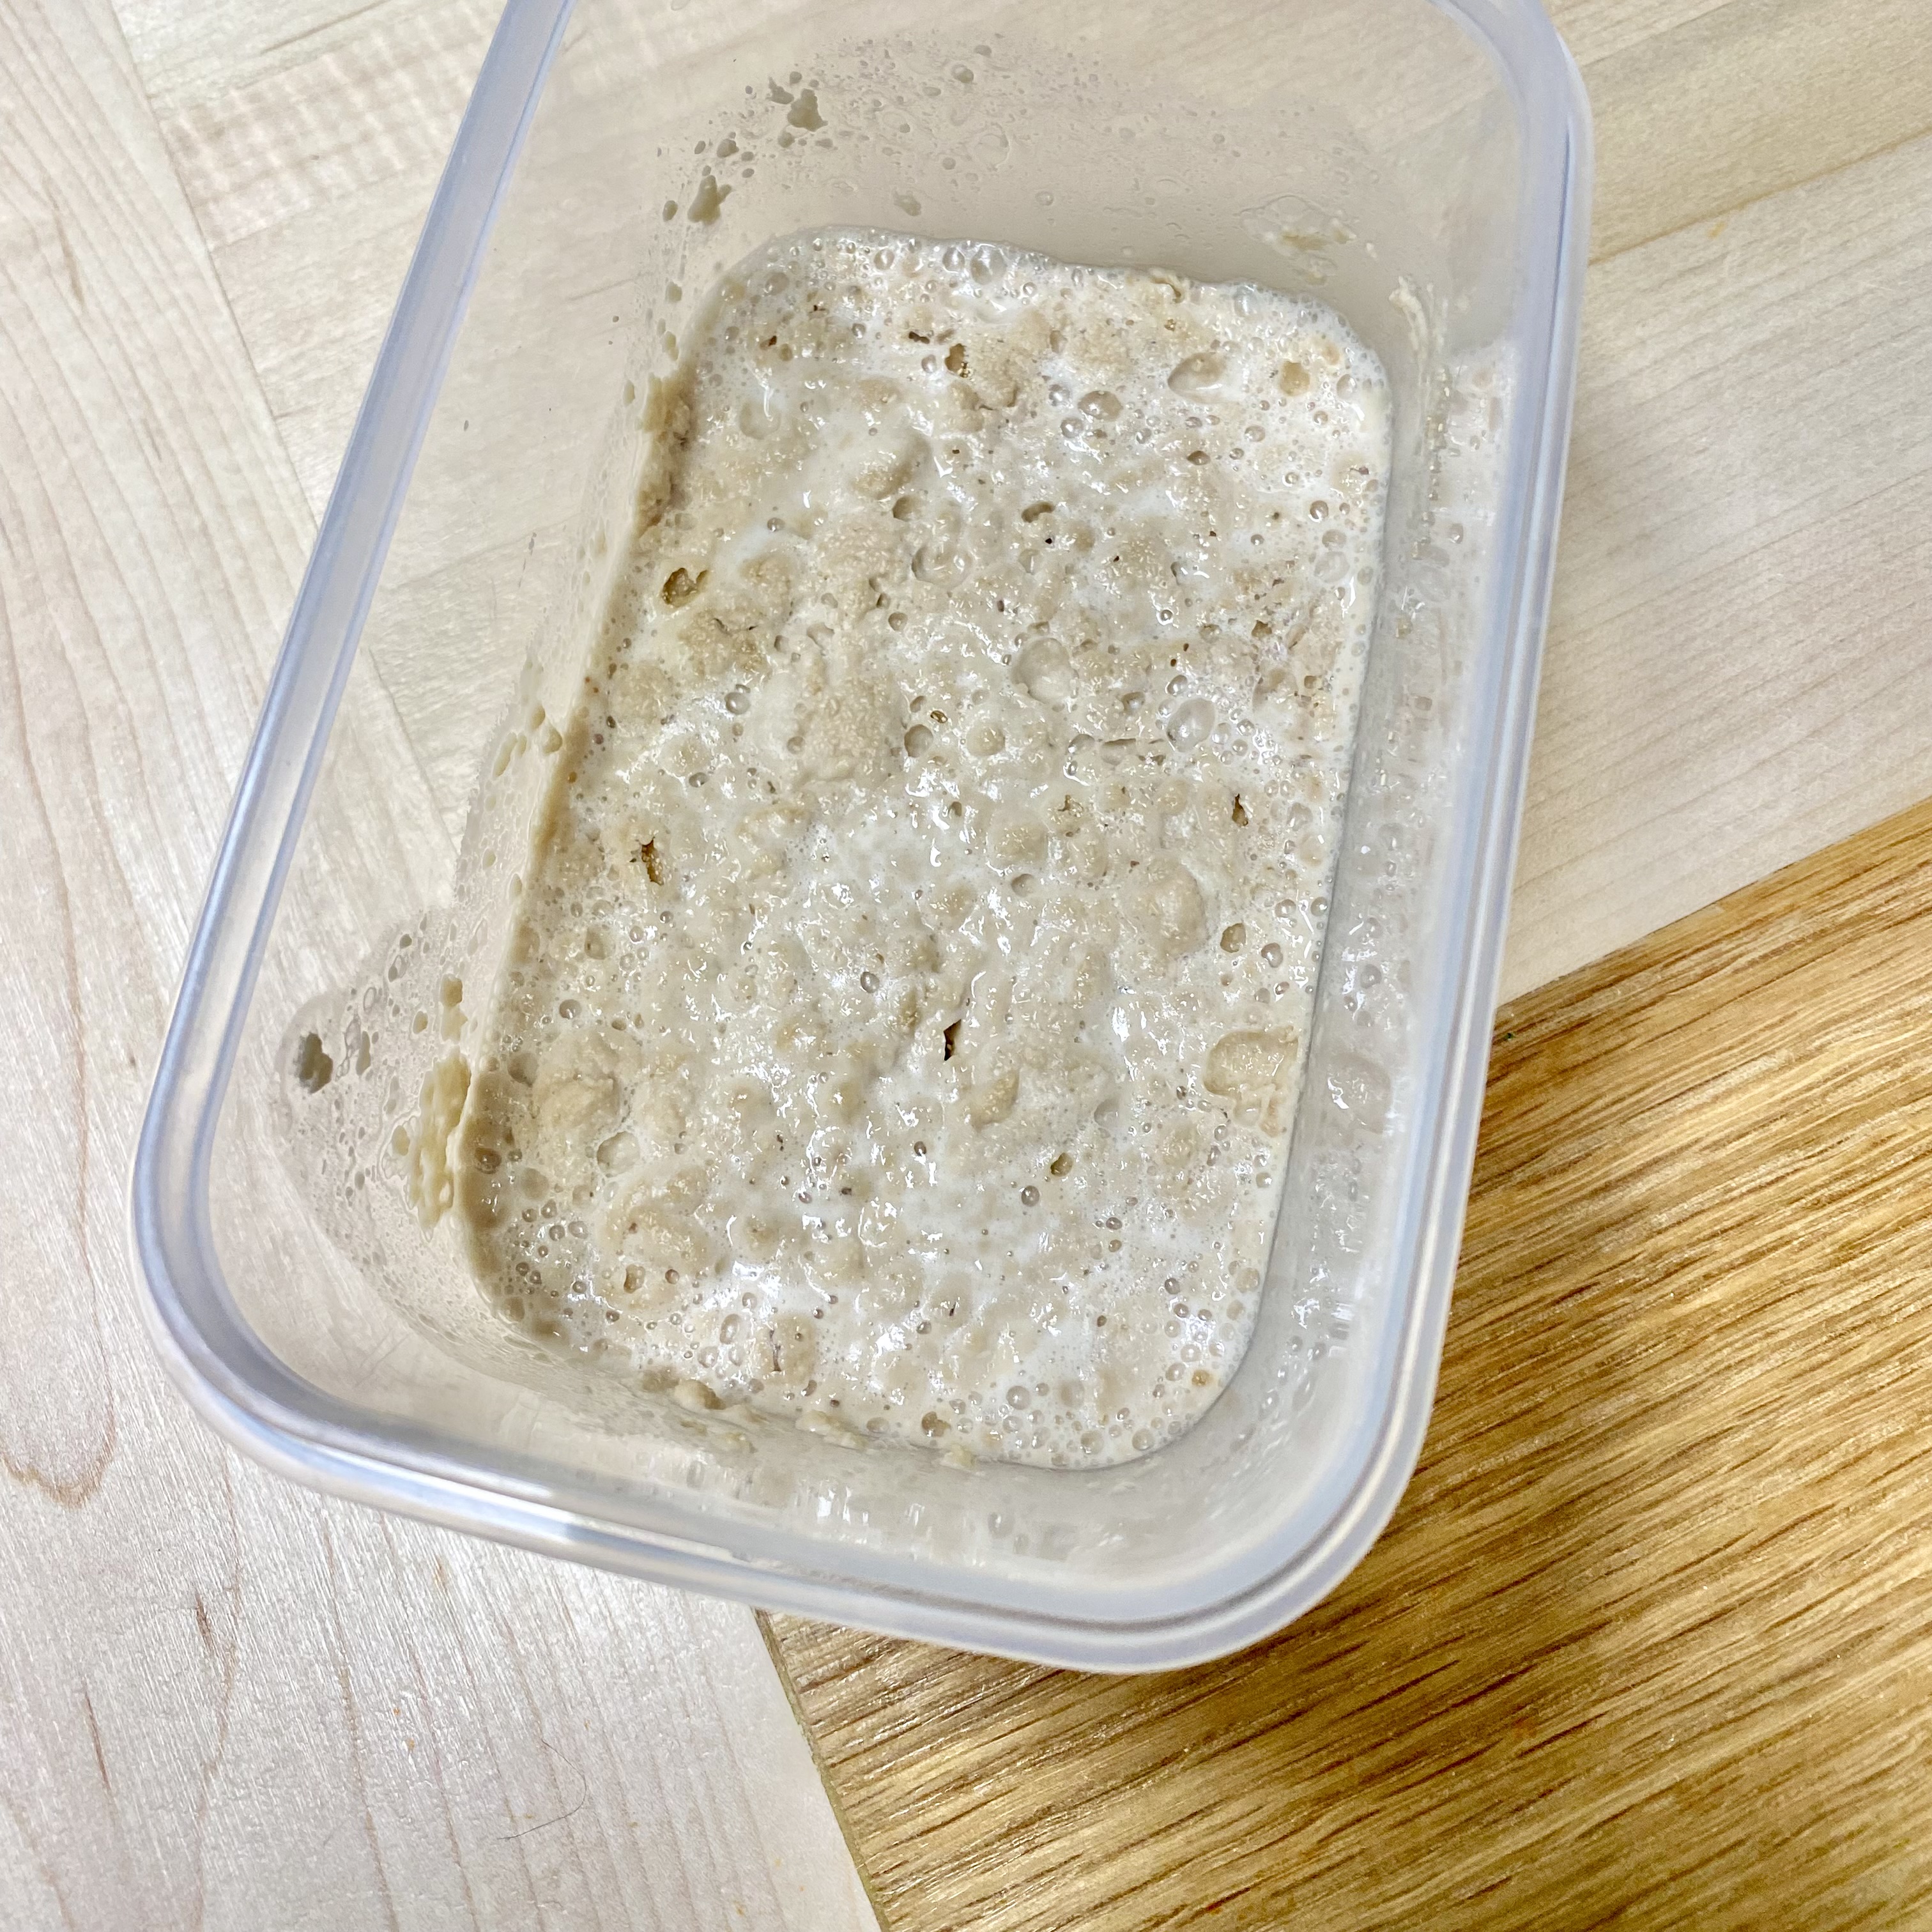
The first step you want to get started on is getting your yeast activated. Get a small bowl with warm but not hot water and then toss in the yeast. Give it a little bit of sugar because yeast loves sugar, and a happy yeast makes a good bread.
While we are kind to our yeast and want it to be strong and healthy, we want to weaken our milk by scalding it. Basically you put your milk in the microwave for a few minutes or on the stovetop until temperatures reach 180 degrees. This is before it would boil. Then you let it come back down in temperature until it is around 100 degrees. Scalding breaks down the whey in milk which will allow your bread to get a nice rise.
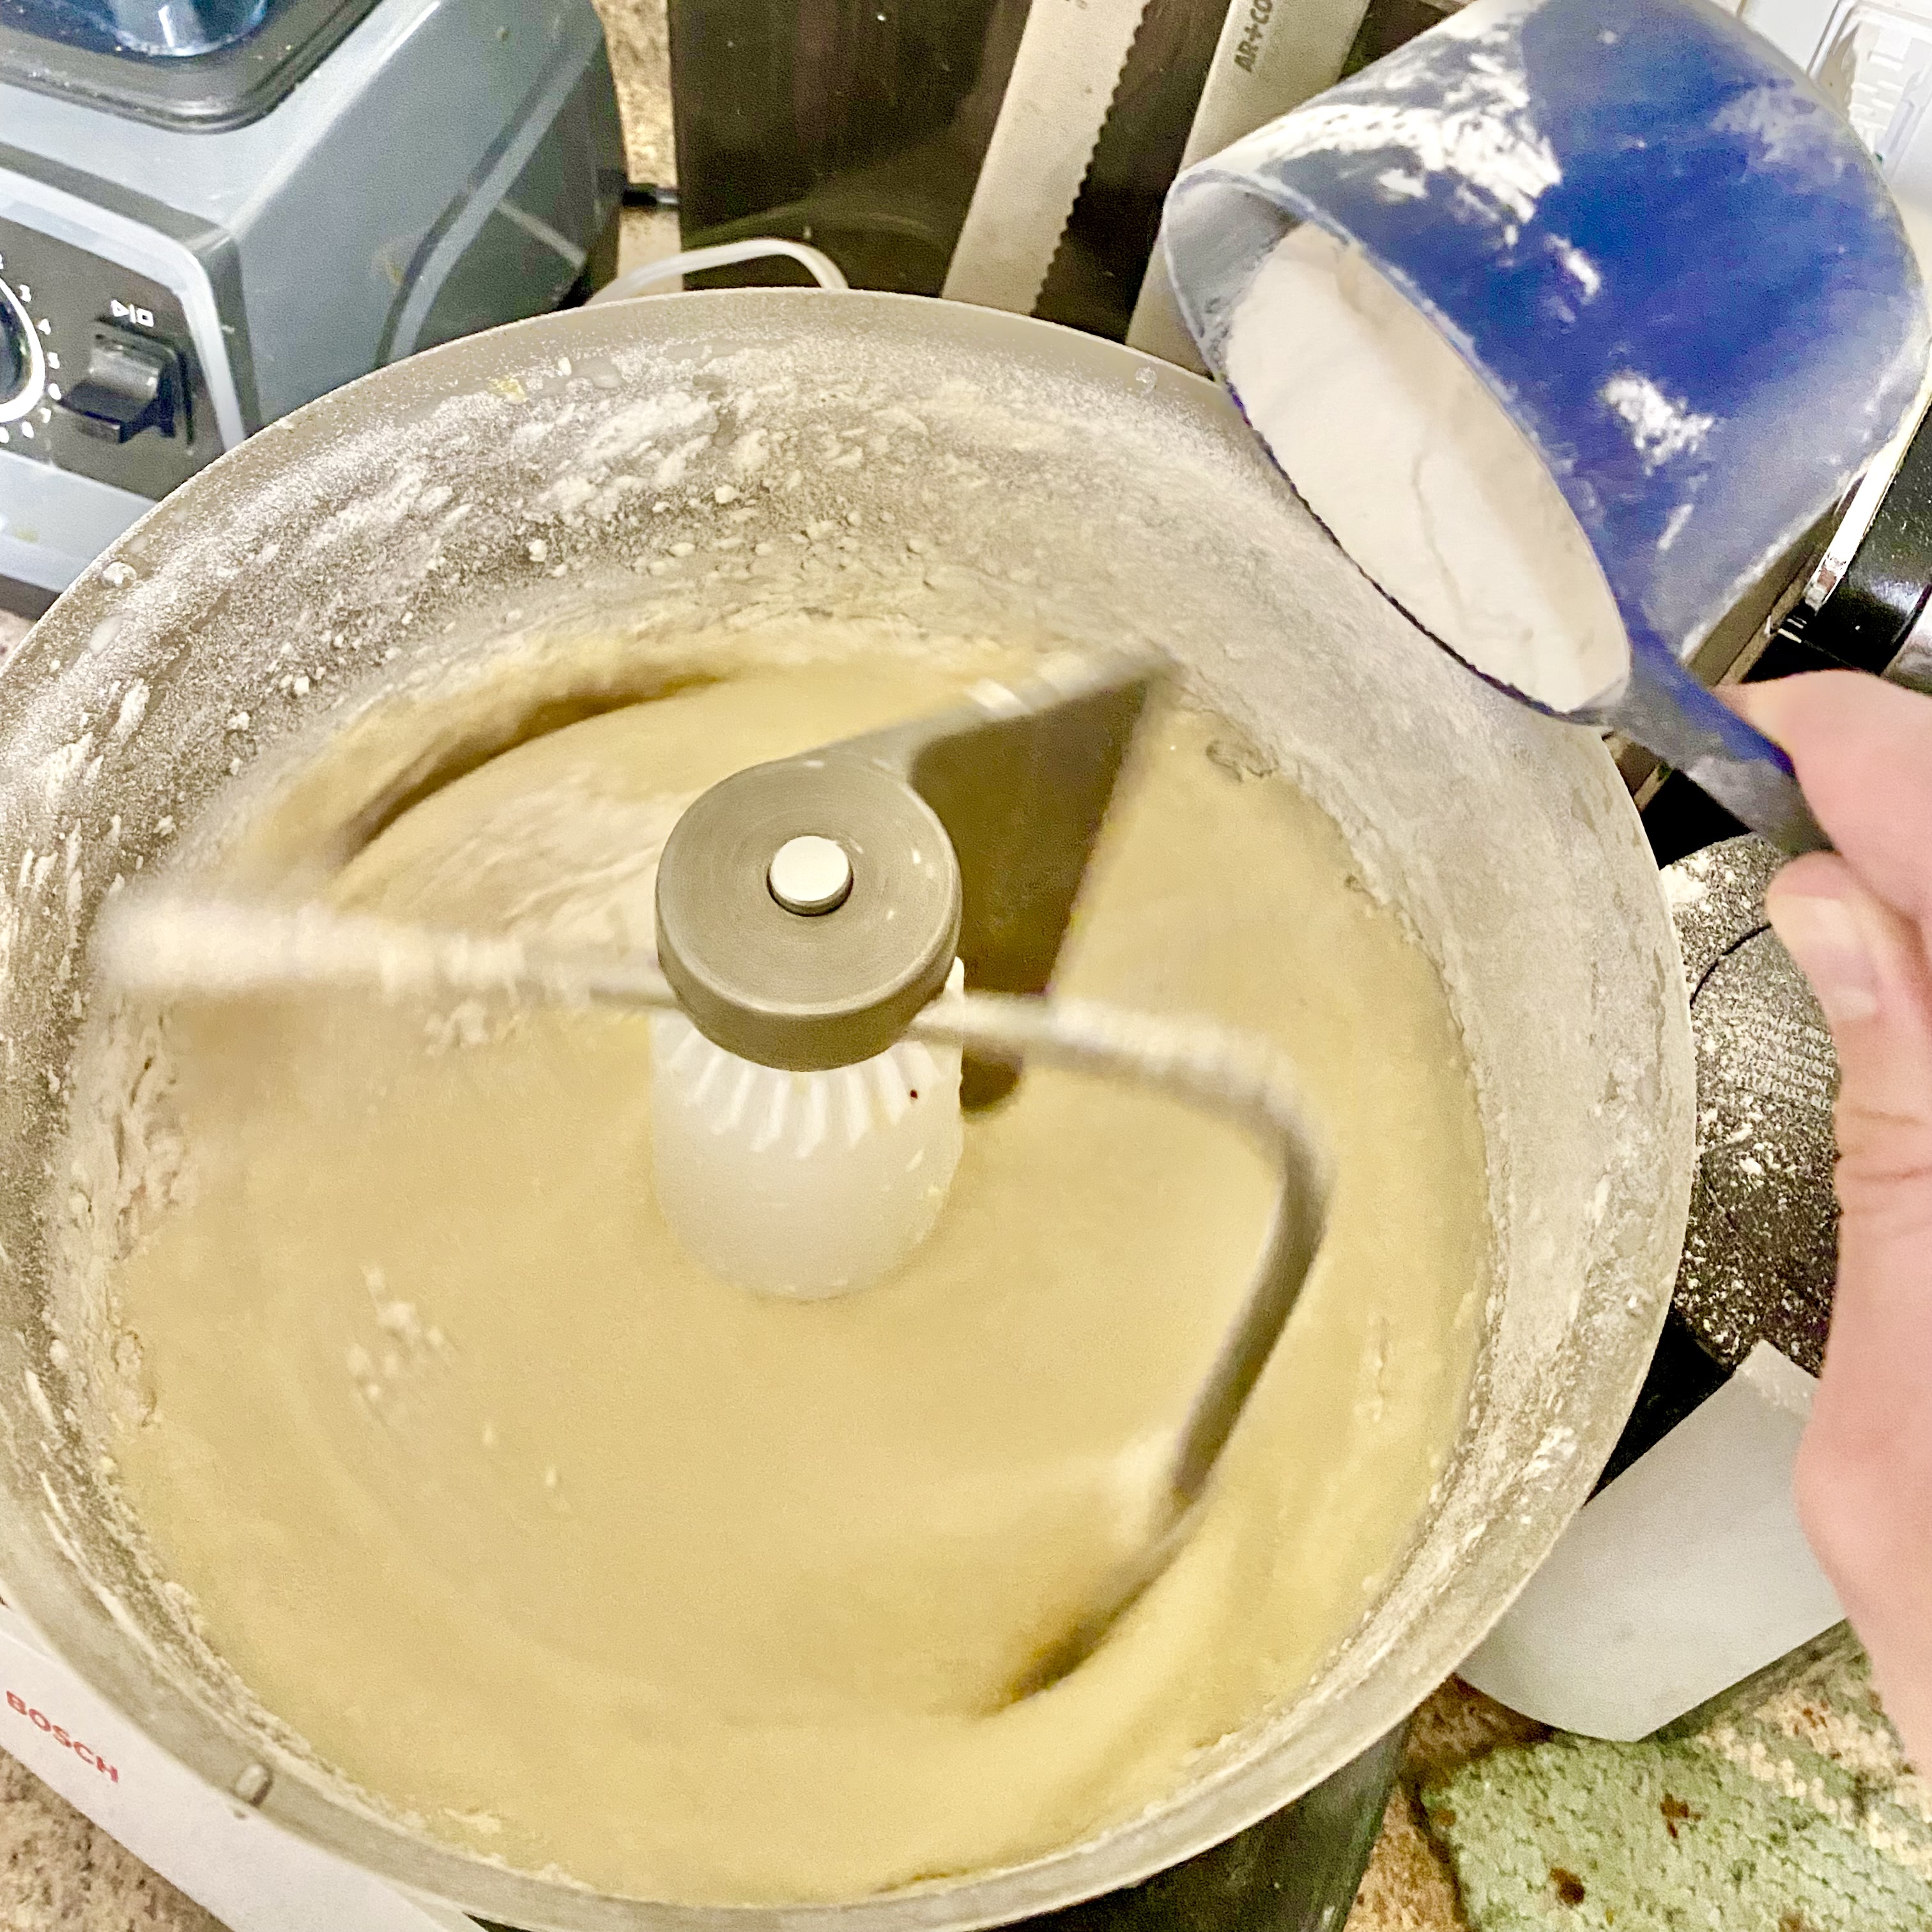
Now we are ready to start loading our mixer. You can also do this by hand but you'll run the risk of an incredible arm workout. Add the yeast, eggs, sugar, salt, milk, and melted butter. Give it a second to get reasonably combined and then start adding the flour. Then start adding flour a half cup at a time.
Whenever I think about baking, I think about how shockingly convenient the ratios seem to be. It's always like 2 cups to 1 cup... just wildly convenient ratios. I used to think surely we could improve on this system and figure out that for ideal rise and airiness you actually want a 1.9 to 1 cup ratio or something like that. I would've figured that with how many 5th graders have to do a science fair project each year, we would have a pretty thorough mapping of perfect ratios.
I do think that for a lot of cooking and baking these ratios and the science are super important to master. However, I have grown to appreciate more and more the ability to understand and experiment with your food.
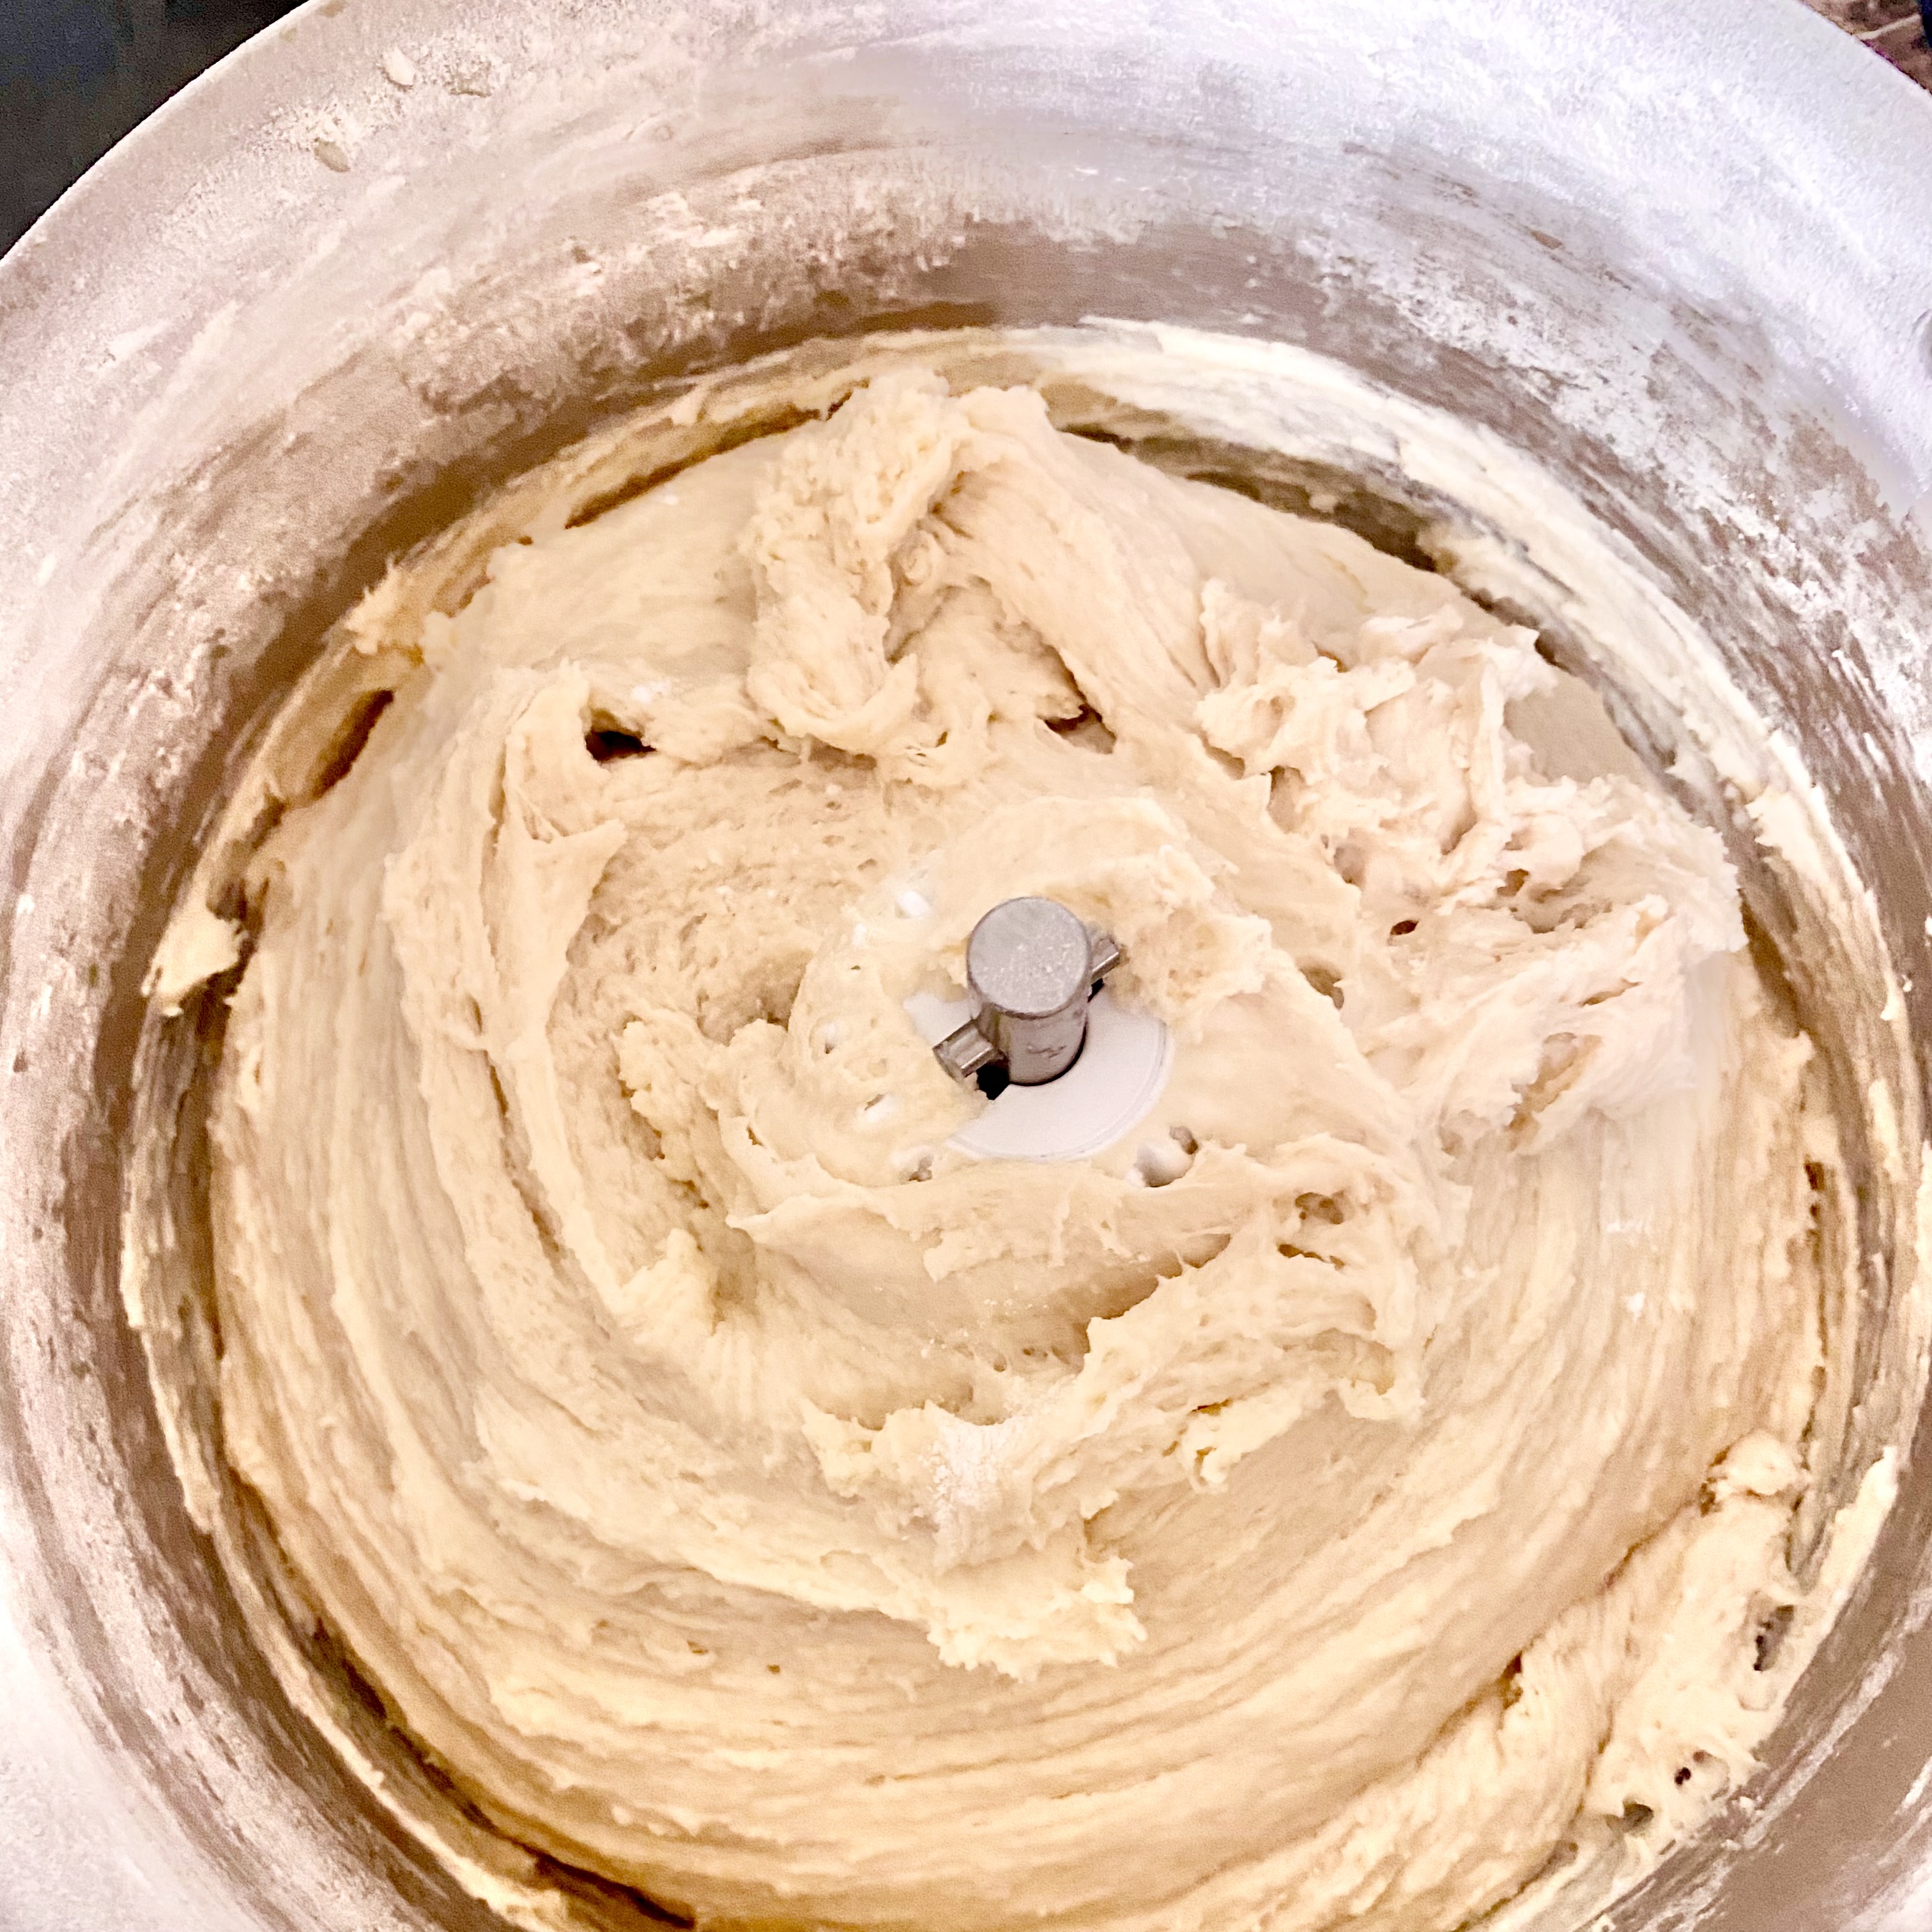
Have you ever been at the grocery store and seen someone slap a watermelon and they just know if it's going to be juicy? That's the type of energy I want everyone to experience while adding flour to this recipe. It might call for six cups but that is more of a guideline.
There are a number of variables such as altitude, size of egg, if you spooned and sifted your flour, or just took a big old scoop and gave it the old shakey-shakey to sort of get it the right amount filled and dumped it in, or even the humidity, that could mess you up. So as you add the flour don't be afraid to stop early or add a little extra to get it to that nice consistency.
Thankfully this dough is pretty much foolproof so if you add a bit extra it'll still be amazing and you'll probably think you just created something better than sliced bread.
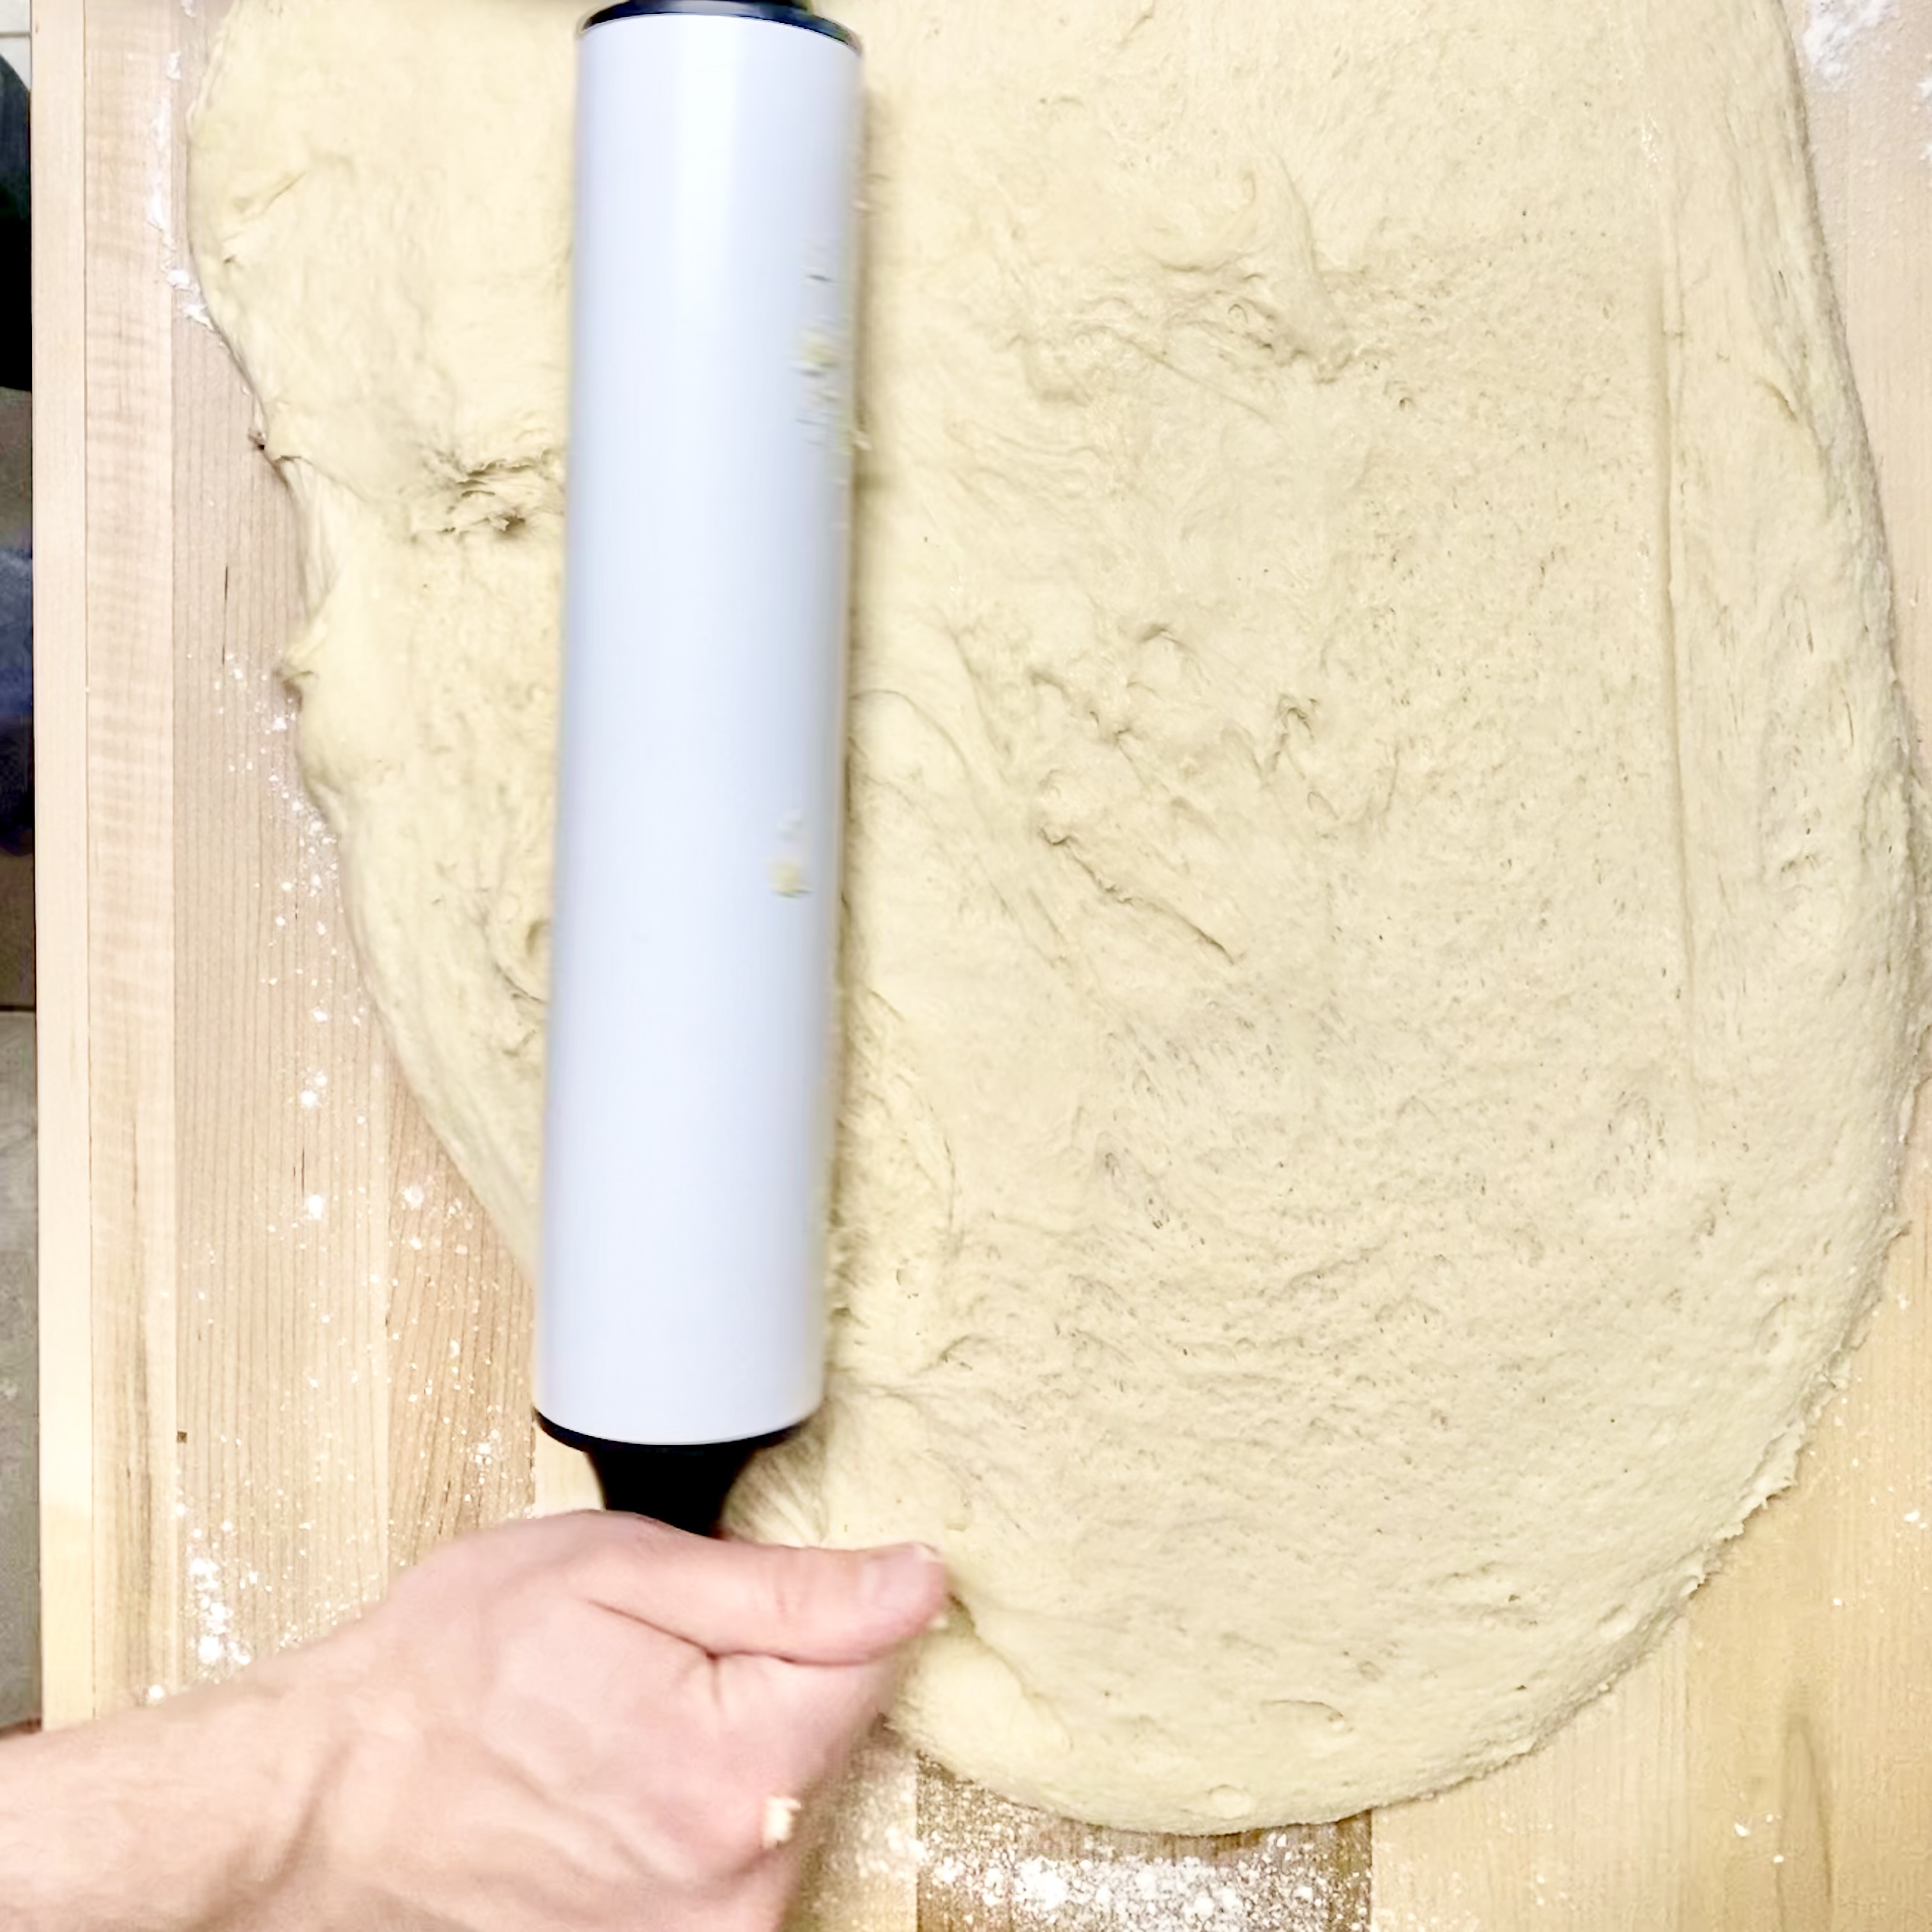
Once it's doubled in size or you've ran out of time and are ready to compromise quality for speed (it's okay we've all been there), it's time to roll it out. Make sure to flour the surface well because you don't want your dough to get stuck once it's time to roll it up.
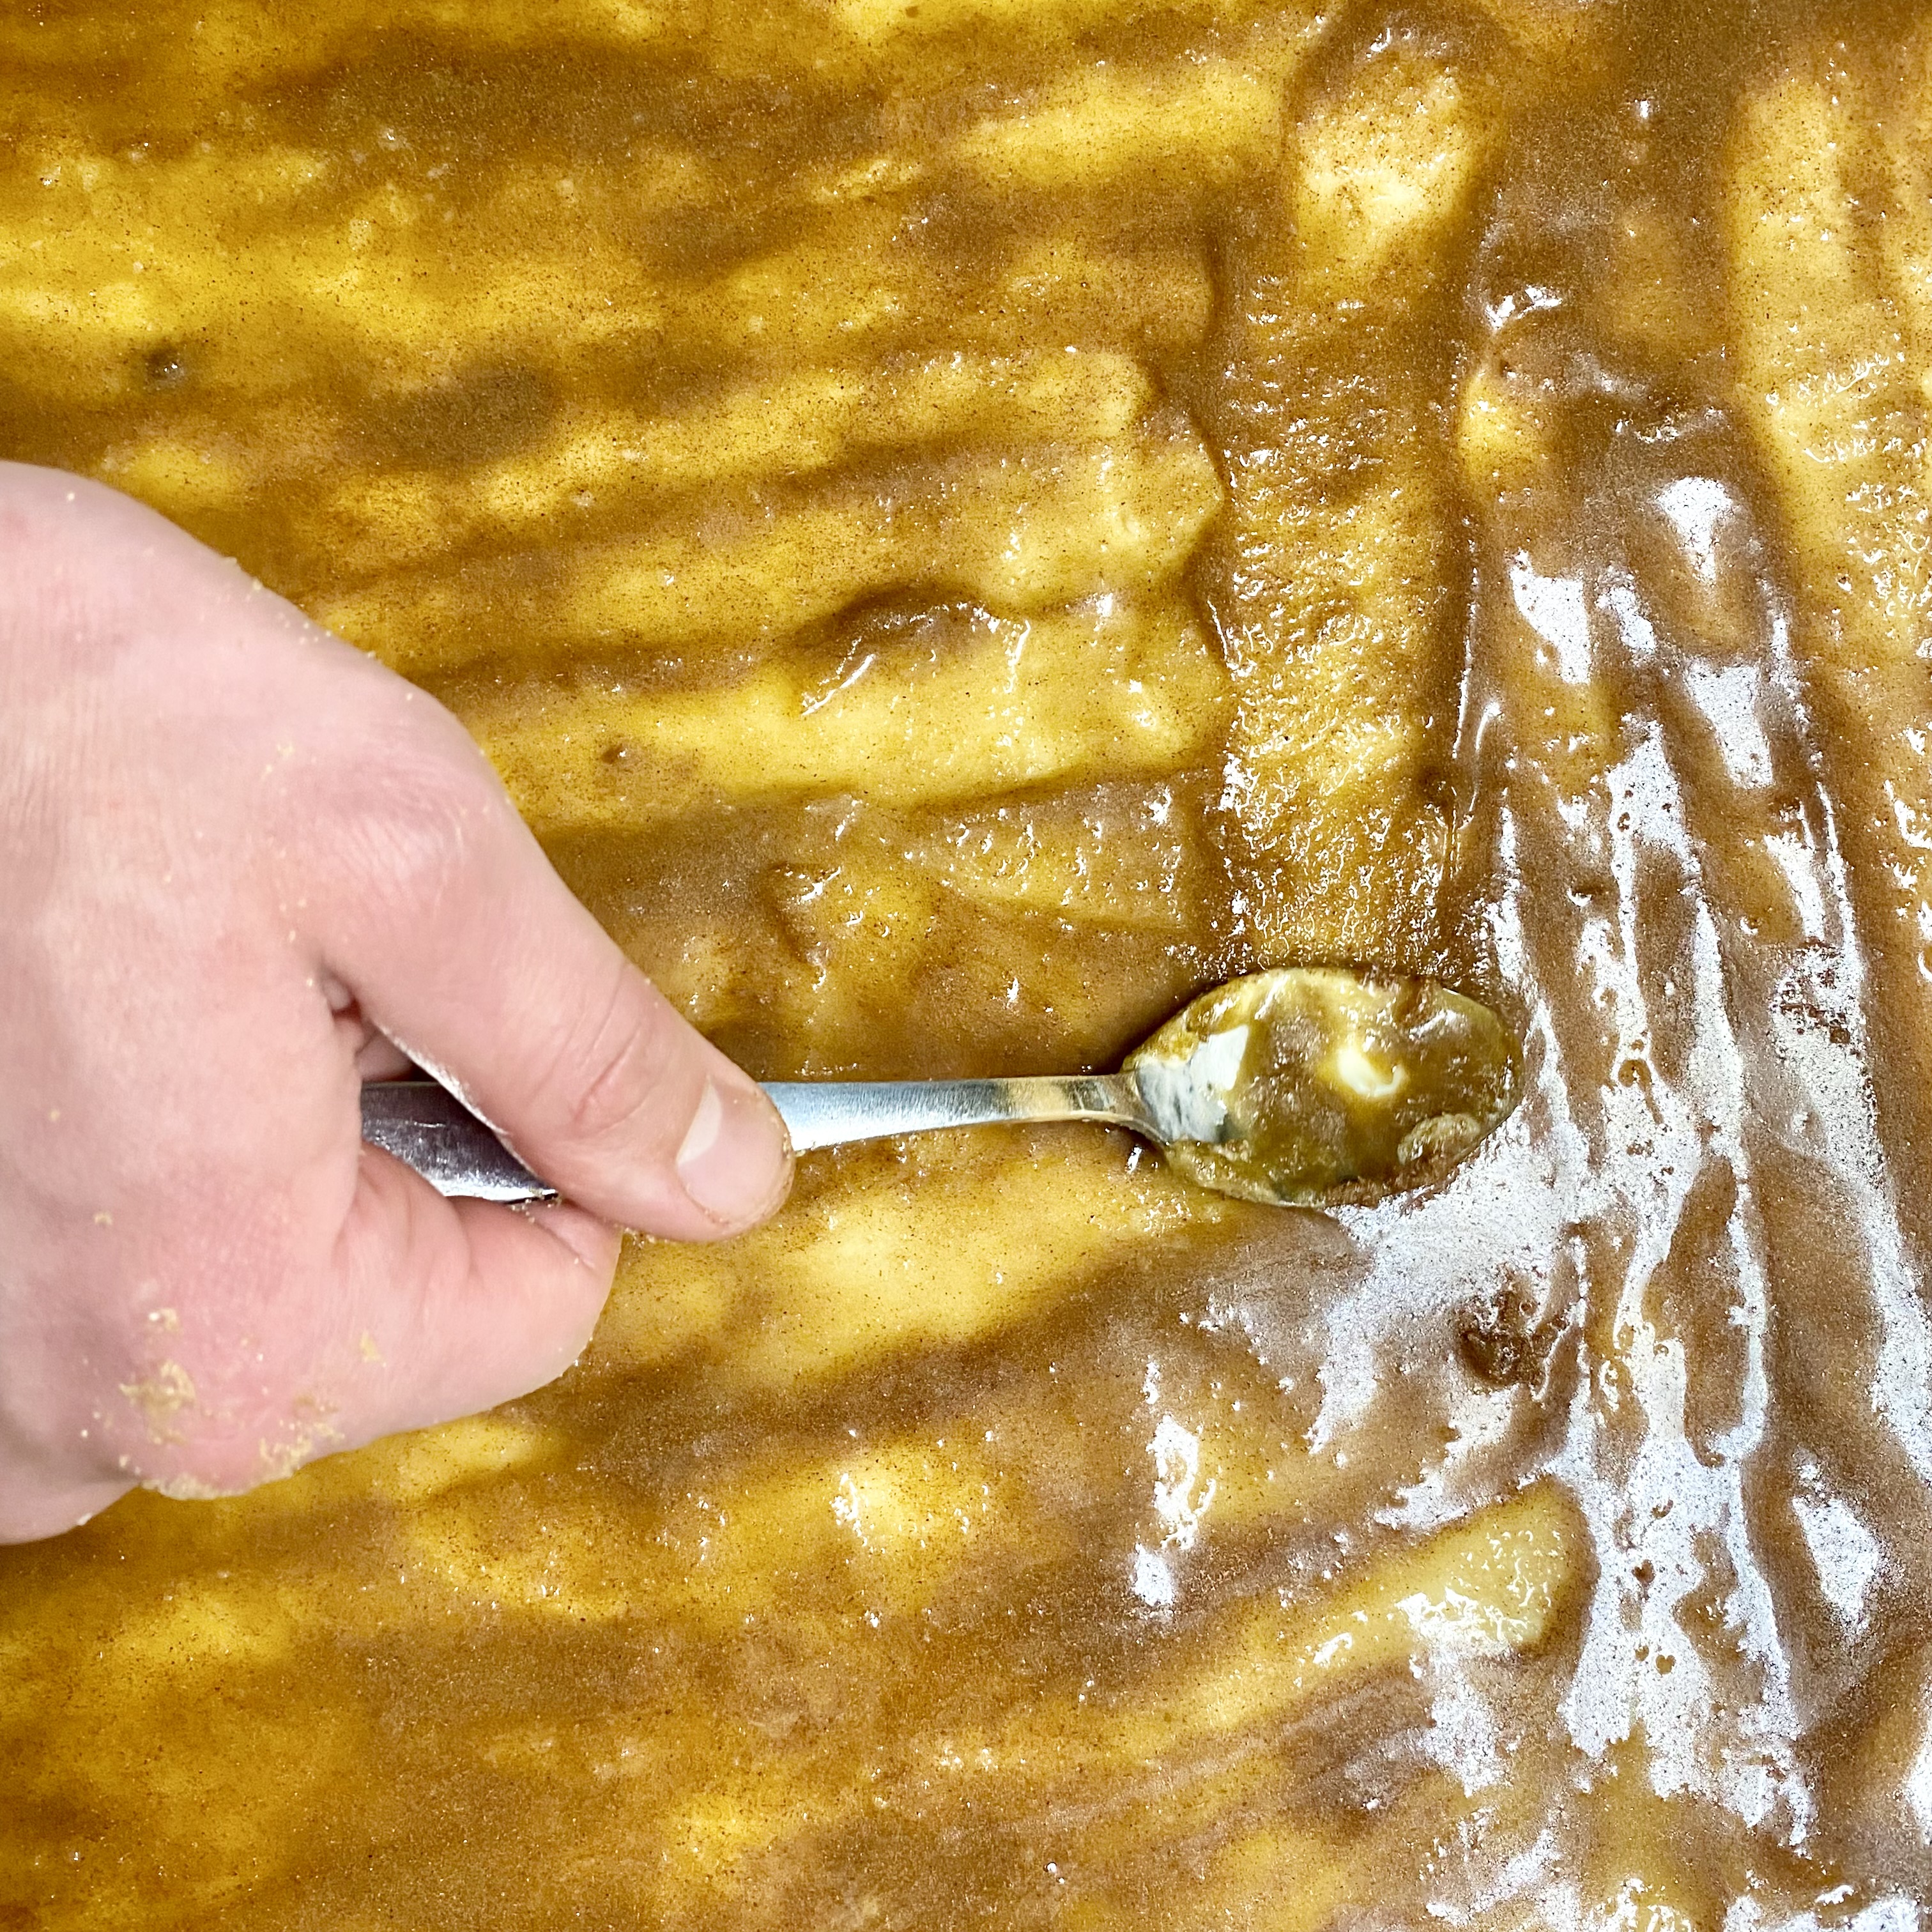
Now its time to build the filling. Melted butter followed by a simple egg-wash go first. And then its sugar-time. Make a quick cinnamon sugar mixture. You can follow the one below or increase cinnamon amount for added kick or decrease it to focus on the sweetness. Then sprinkle that on, followed by the brown sugar. Sprinkle it out the best you can and then get a spoon and start moving it around. It should form a reasonably thick paste of pure deliciousness.
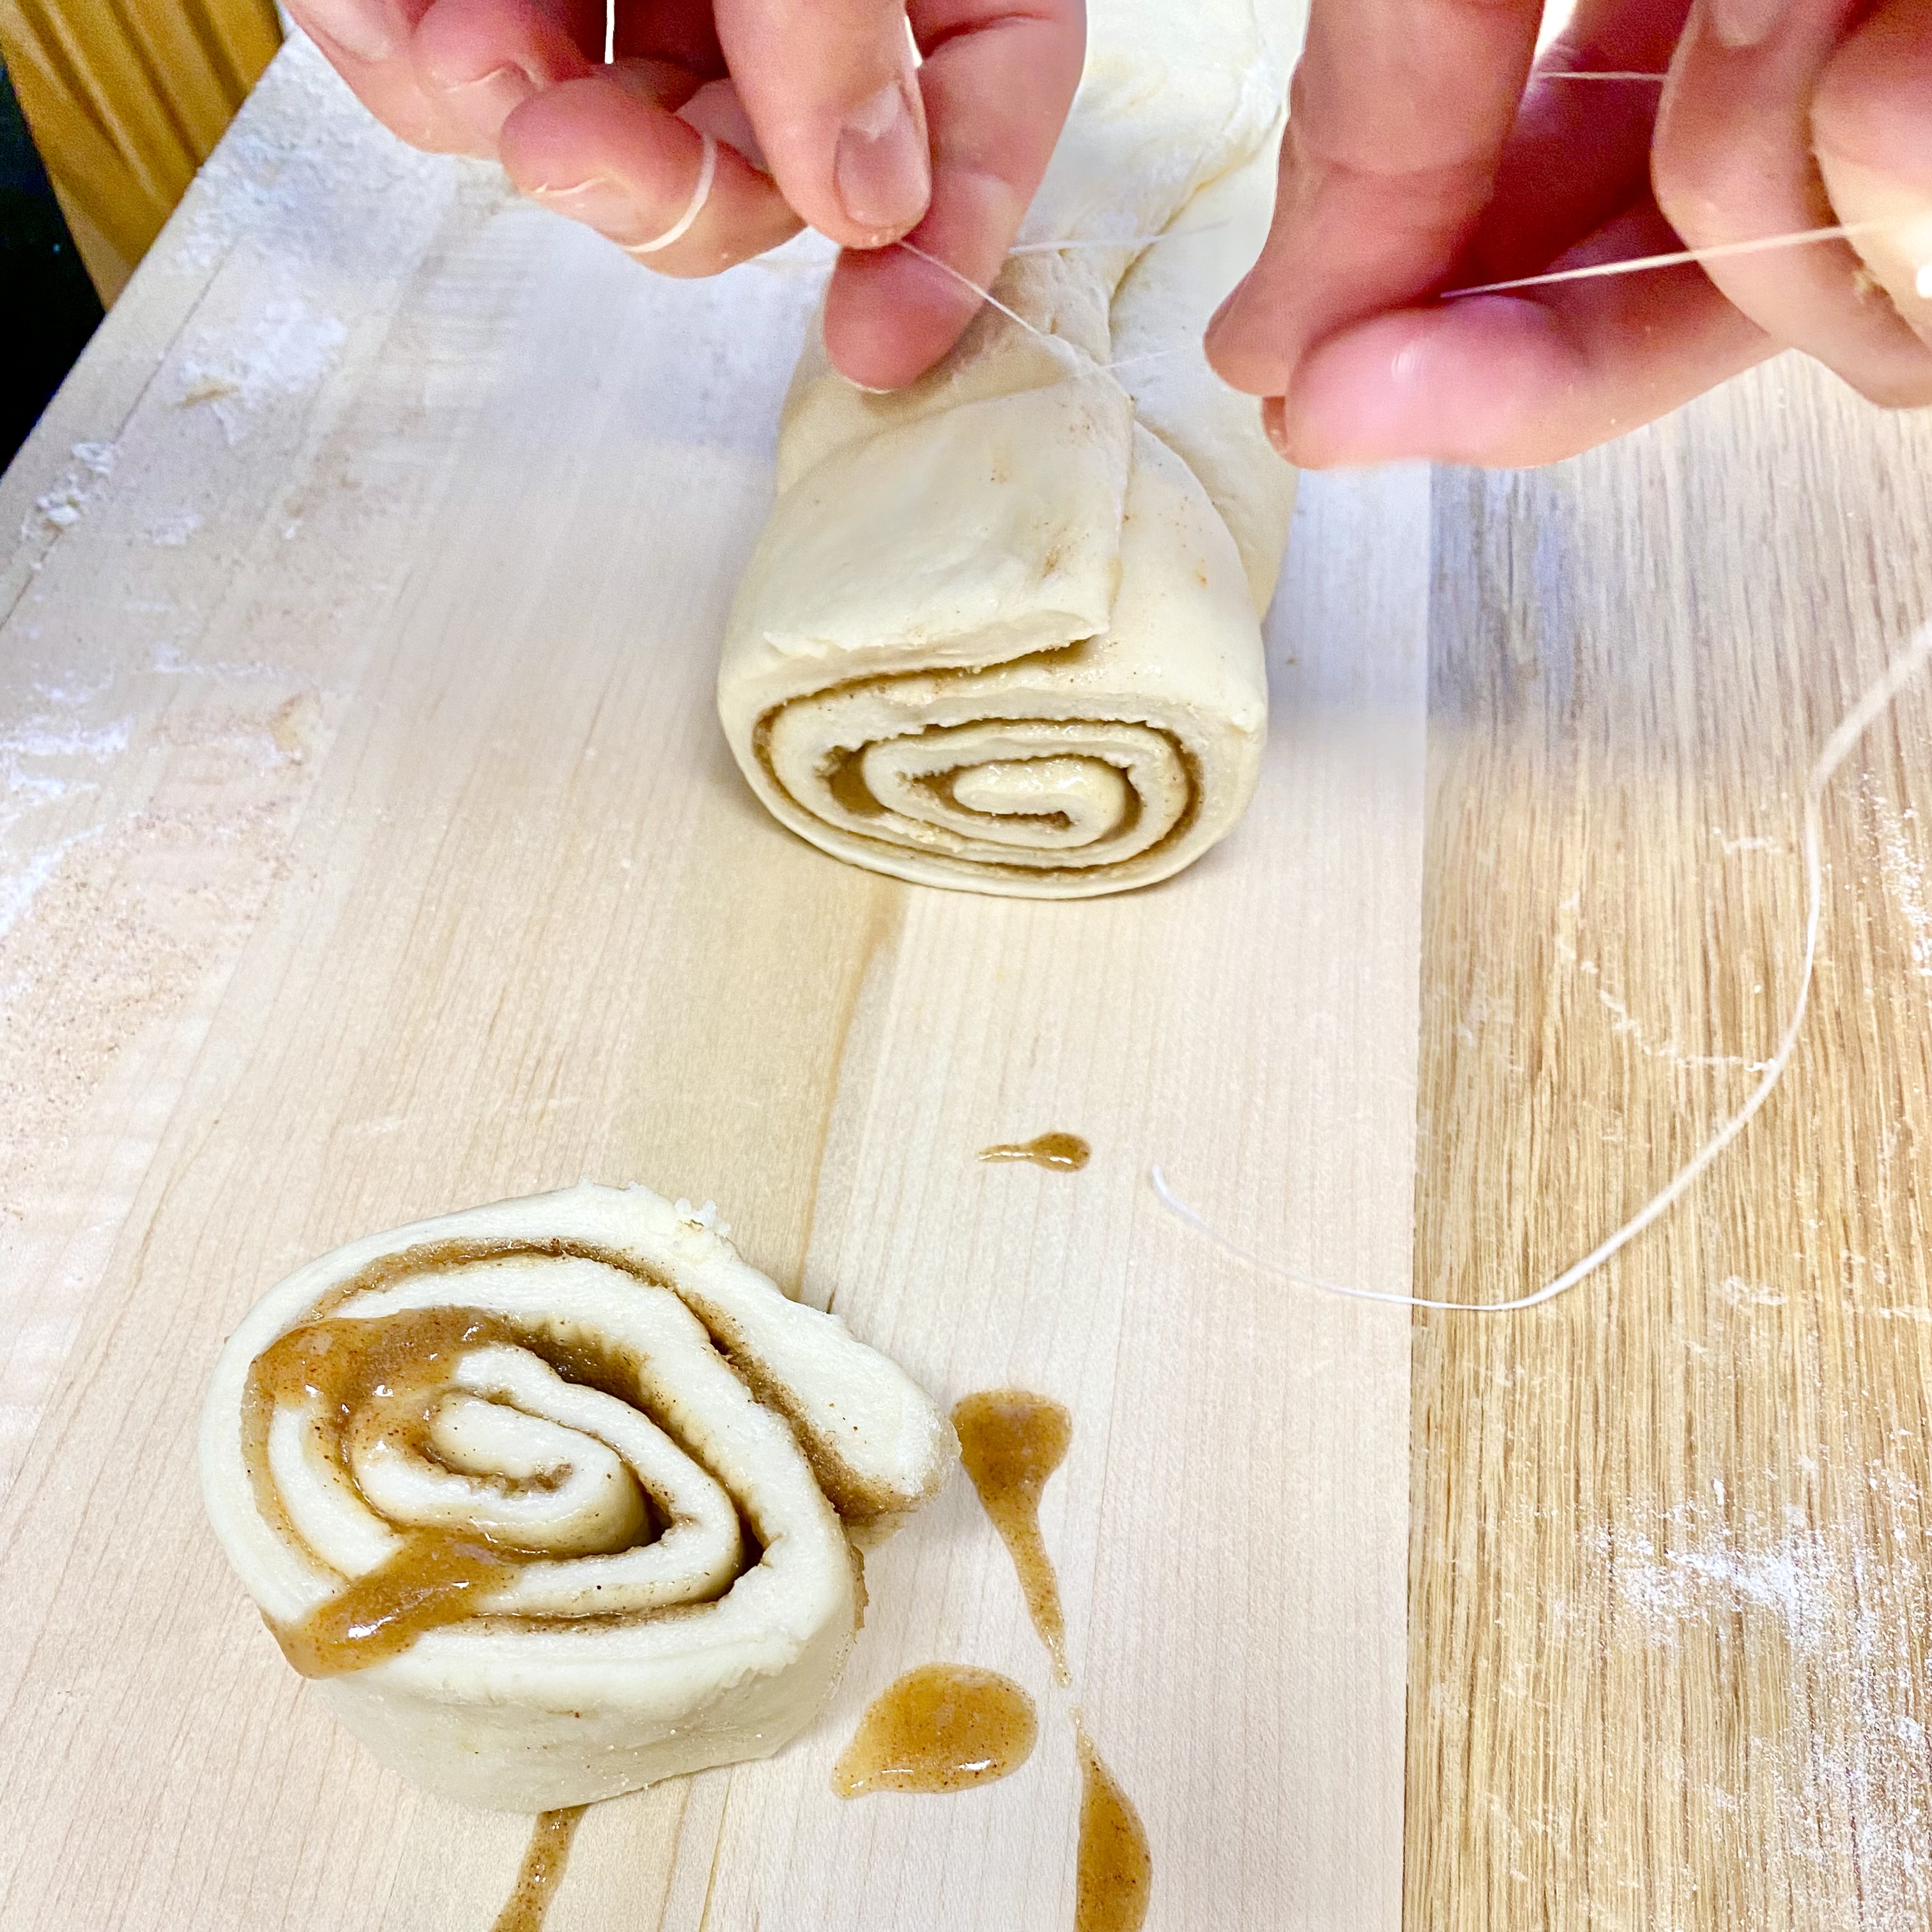
Now for this part it can be nice to get some help to get a more consistent roll, especially if you've doubled the batch. You want to start on the long side of the rectangle and roll that side up. Then grab a piece of dental-floss and slide it underneath the roll for about 1 inch and then bring it around and pull it. This will give you a nice clean cut.
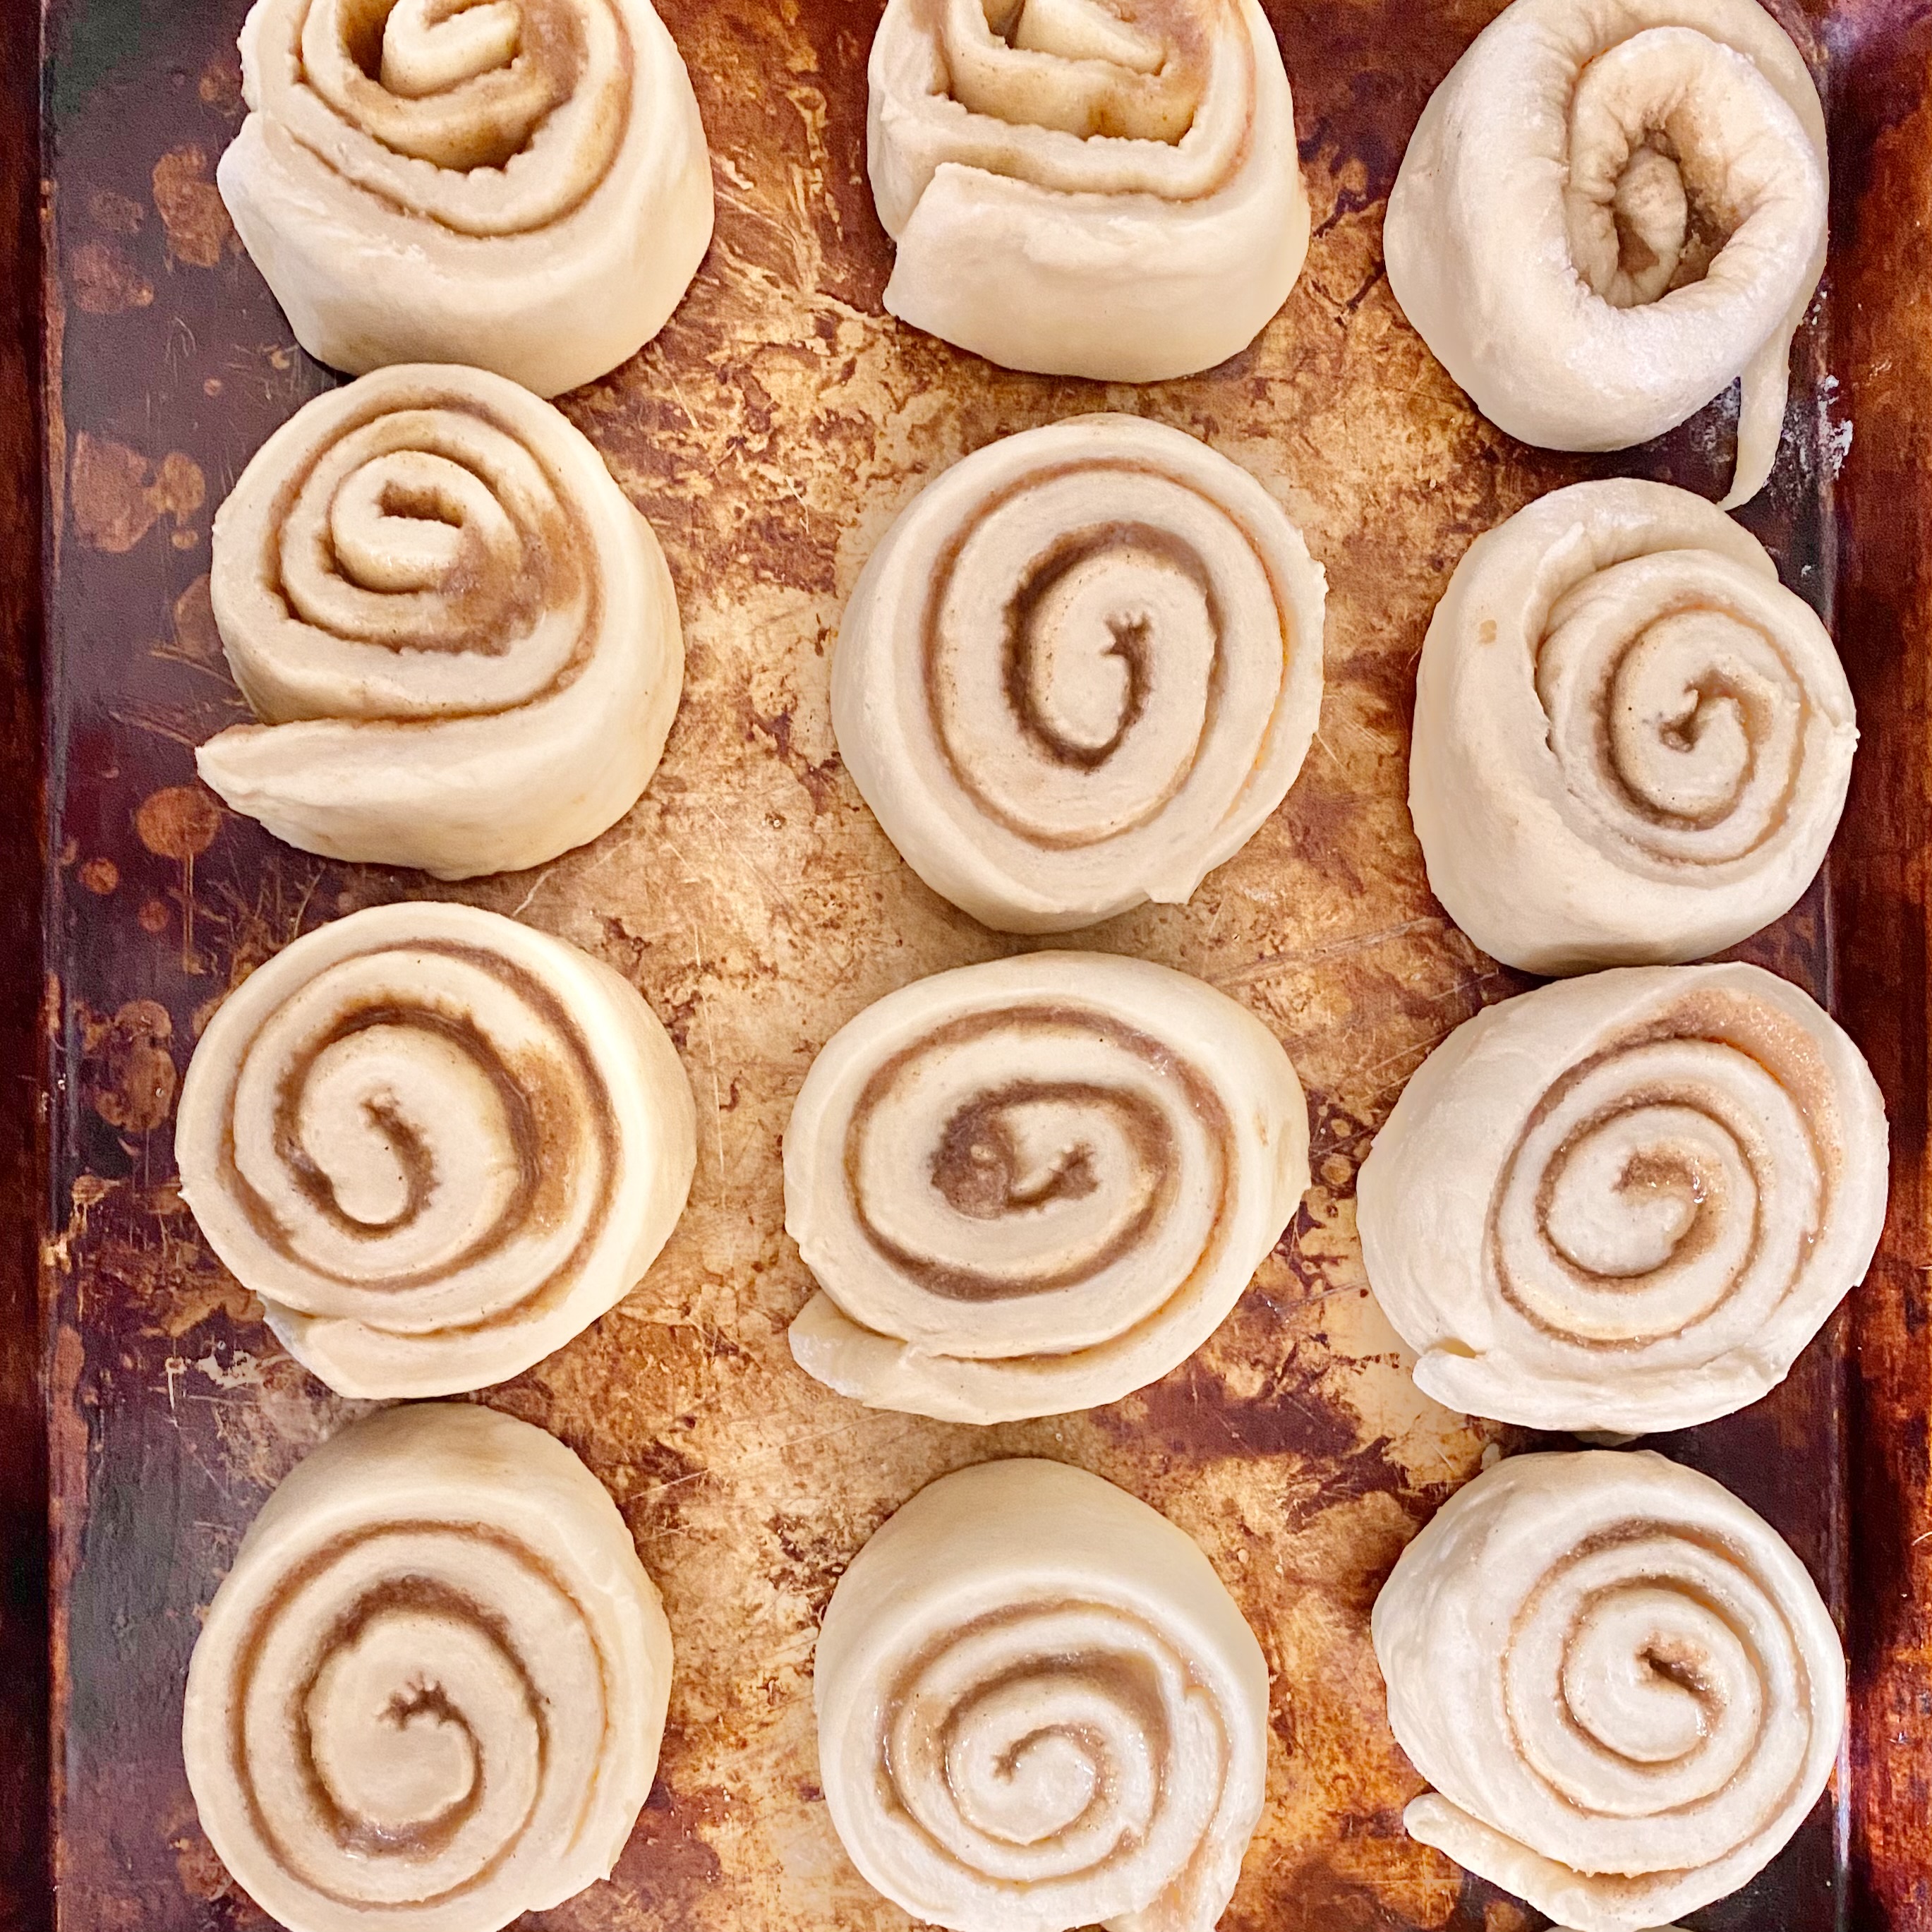
Repeat this process, placing the cinnamon rolls moderately close on the pan. I've found that I really enjoy it when they push together because they support each other and you get a taller, lighter roll. Bake the cinnamon rolls for 12-15 at 400 degrees, or until just starting to get brown on top.

As a reference for how to tell when they are done - They should bake to look the way it feels to be wrapped up in an oversized blanket on a cold day after going sledding with your friends.
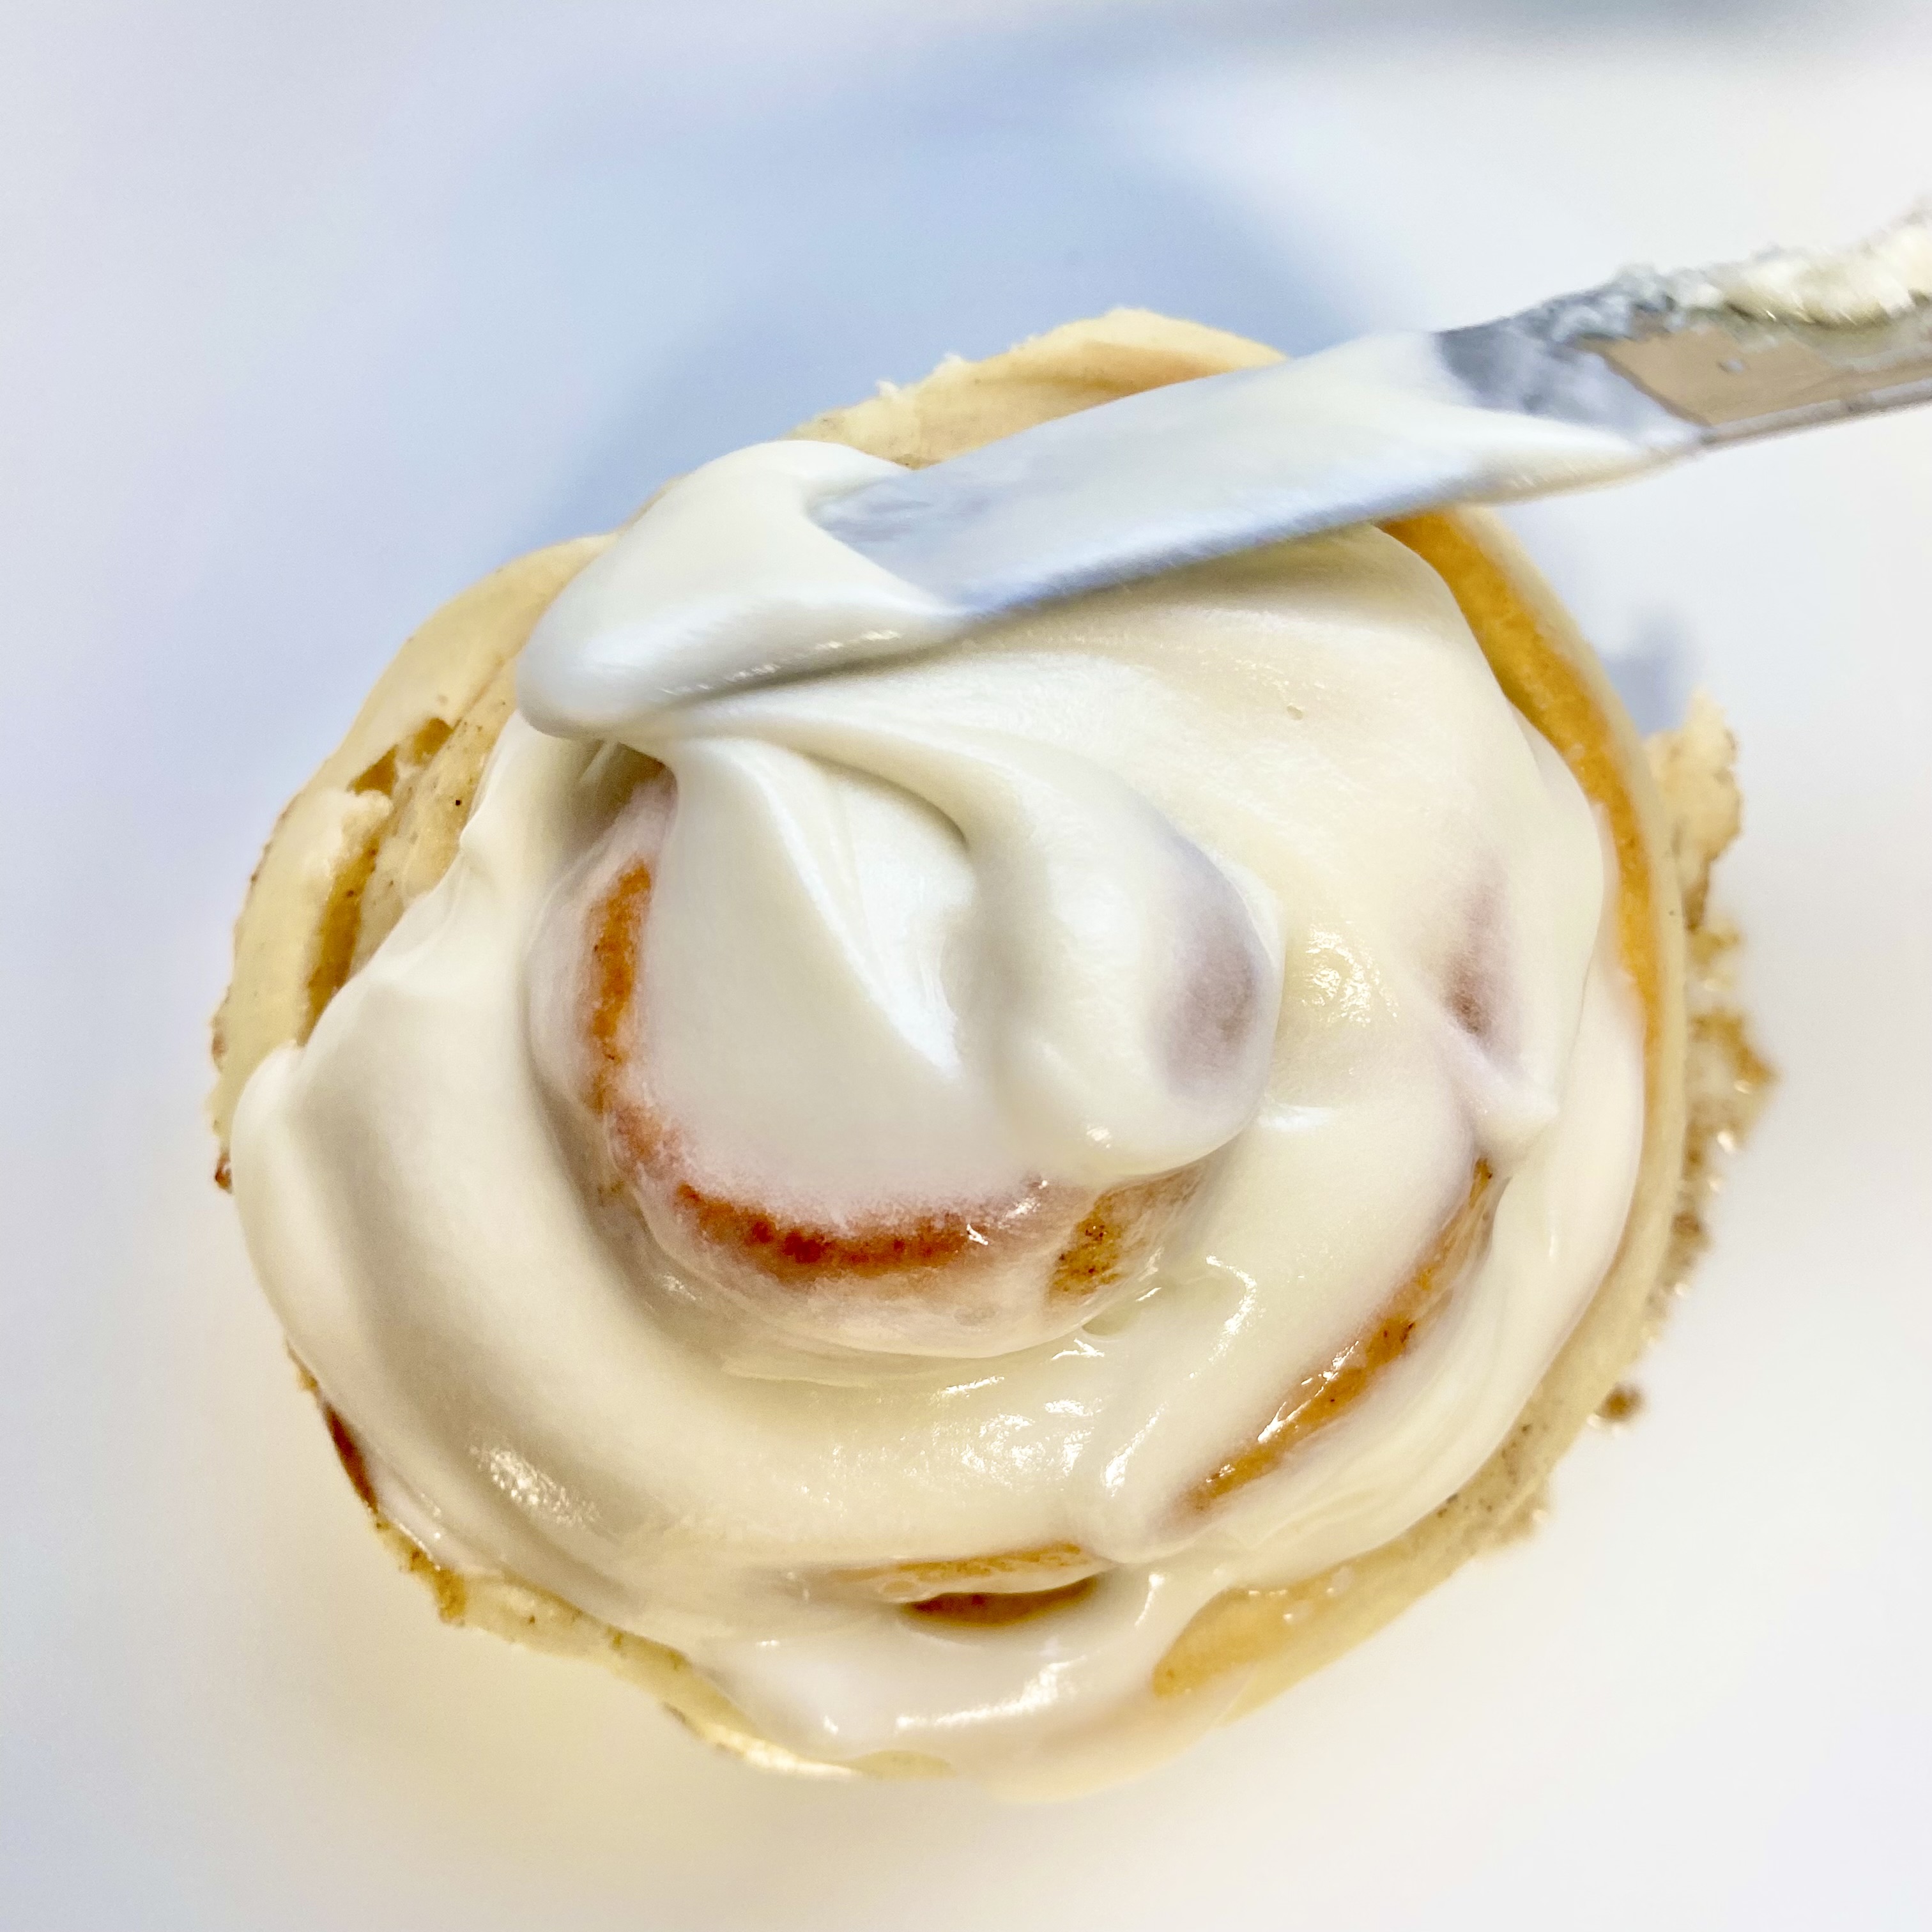
Finally it's time to frost them. You are welcome to use a more traditional cream cheese recipe, or to use this frosting recipe below (you might need an extra cup of powdered sugar depending on how sweet you like things). I'd like to say something in favor of the frosting, tooting my own horn to say, my wife has always preferred the cream cheese frosting on a cinnamon roll until she tried this. Is she biased because she loves me deeply? Yes. Is it still amazing? Yes again.
Ingredients:
Cinnamon Roll Dough
- 2 Cup Milk 2%
- 1/2 Cup Butter, Unsalted
- 1/2 Cup Granulated Sugar
- 11/2 Tsp Salt
- 2 Egg
- 6 Cup All-Purpose Flour
- 1/2 Cup Water
- 2 Tbs Dry Yeast
Cinnamon Filling
- 1/2 Cup Butter, Unsalted
- 1/4 Cup Milk 2%
- 1 Egg
- 1/3 Cup Granulated Sugar
- 11/2 Tbs Cinnamon
- 3/4 Cup Brown Sugar (packed)
Frosting
- 1/2 Cup Butter, Unsalted
- 4 Cup Powdered Sugar
- 1 Tbs Milk 2%
- 1 Tsp Vanilla Extract
Directions:
Cinnamon Roll Dough
- ACTIVATE THE YEAST
Add the yeast to warm (but not hot) water. Add a pinch or two of sugar and let sit until it gets nice and bubbly. - SCALD THE MILK
Put 2 cups of milk into the microwave until temperature reaches 180 degrees fahrenheit. This should take about 2 minutes on high in an average microwave. - MIX INGREDIENTS
Add the yeast, melted butter, eggs, milk, salt and sugar. Mix well and then add in the flour one half cup at a time. - RISE
Cover and wait until it has doubled in size. Usually an hour will do the job. - ROLL OUT
Flour the table and rolling pin and then roll into a rectangle roughly 3/8 inch think.
Cinnamon Filling
- SPREAD BUTTER
Coat the rolled out dough in melted butter - EGG WASH
Mix the egg and 1/4 cup milk together and then spread across the rolled out dough. - SUGAR
Mix cinnamon and sugar and shake across the dough. Then crumble the brown sugar and use a spoon to distribute all of this into a paste. - ROLL AND SLICE
Roll it up and then use thread or dental floss to cut into 1 inch rolls. Place on a baking sheet with a little space between. - BAKE
Place in the oven at 400 degrees F for 12-15 minutes until just lightly browned on top.
Frosting
- MIX
Beat butter on high slowly adding powdered sugar. Add vanilla and then add milk as needed to achieve desired consistency.
Nutrition Facts
Serving Size Cinnamon Roll
Serving Per Container 20
| Amount Per Serving | ||
|---|---|---|
| Calories 427 | ||
| % Daily Value* | ||
| Total Fat 15g | 19% | |
| Saturated Fat 9g | 45% | |
| Trans Fat 0g | ||
| Cholesterol 65mg | 21% | |
| Sodium 310mg | 13% | |
| Total Carbohydrate 67g | 24% | |
| Dietary Fiber 1g | 3% | |
| Sugars 38g | 76% | |
| Protein 6g | 12% | |
Leave a comment:
6 Comments:
Hello! We are the McMillans and we are passionate about food! We love creating bites worth taking and sharing our recipes. We hope you can find some recipes you like here today!